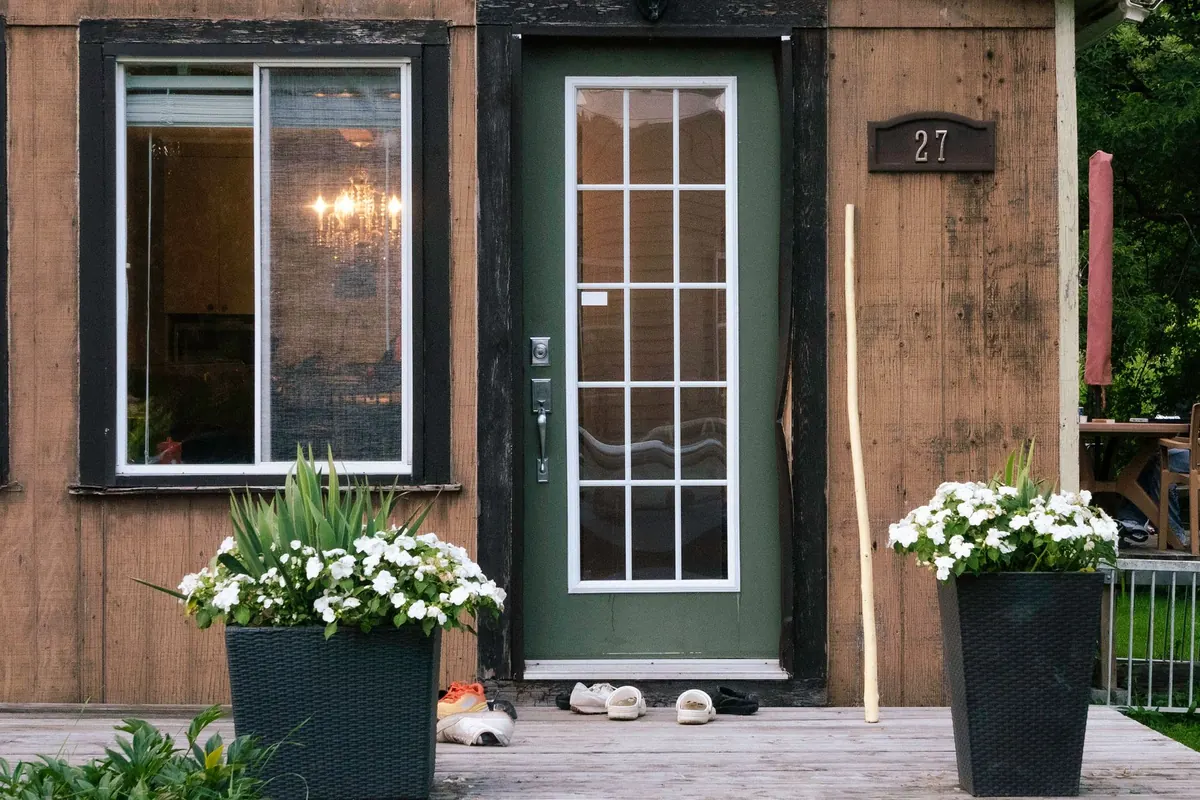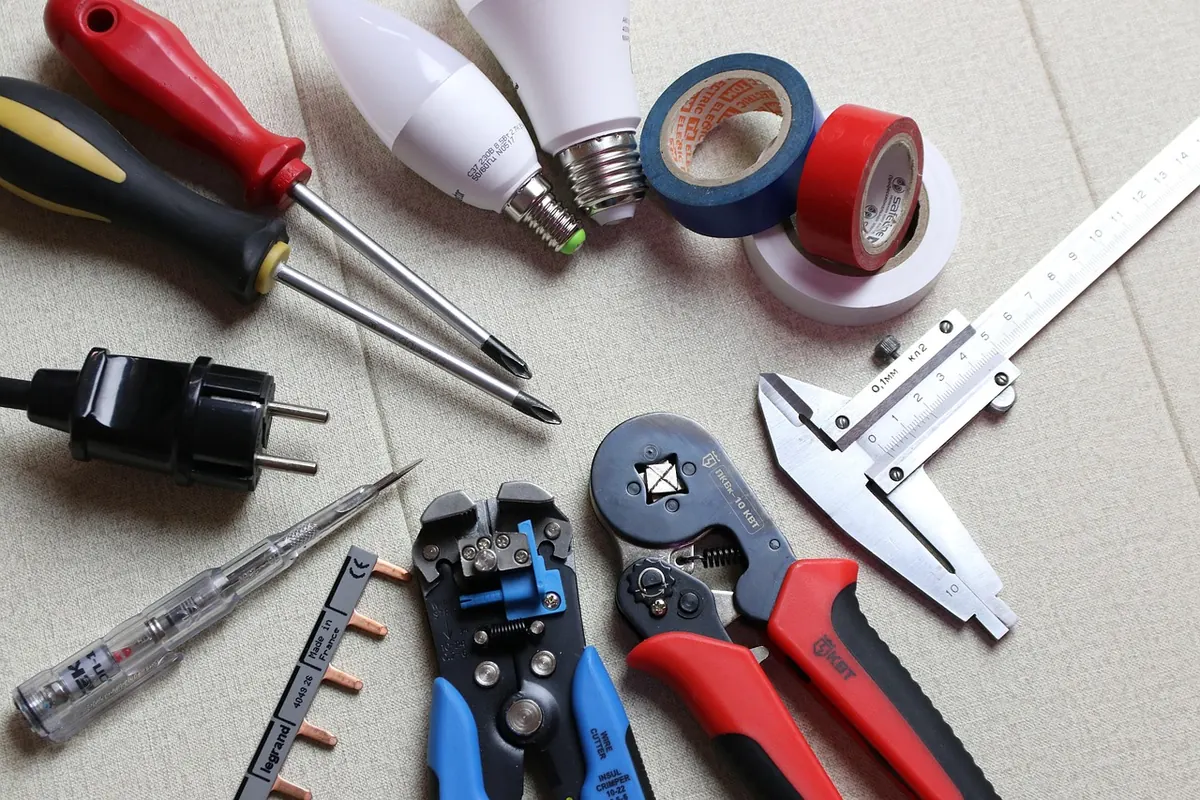
A door can look perfectly hung and still fail the only test that matters on a cold evening: it lets a thin ribbon of air slip past the frame. The gap may be no wider than a credit card, but it is enough to make a hallway feel uncomfortable and to waste heat. Good door fitting is less about force and more about sequence. Check the opening, dry-fit the frame, seal in the right order, adjust the hardware, and then test the result instead of assuming it.
This checklist is written for the person on site with a level, a tape measure, and a tube of sealant — not for a showroom. Work through the pre-installation points before the door leaves its packaging, then use the post-installation checks while you can still make small adjustments without damaging finishes.
Survey and Prepare the Opening
Start with the hole in the wall, not the door. A twisted frame will pull even a well-made door out of alignment, and no amount of hinge adjustment will cure a crooked opening. Remove the old frame and trim carefully, then inspect the reveal. Look for soft timber, loose masonry, damp patches, and uneven plaster that could stop the frame from sitting flat. Sweep out dust and grit; shims and sealant do not bond reliably to debris.
Use a spirit level on both sides of the opening and a tape measure across the top, middle, and bottom. Compare the diagonals. Small differences can be shimmed, but a serious twist or out-of-square opening needs correcting before fitting. Check the threshold too. If the floor falls away, an exterior door may need a proper sill or threshold detail rather than a thicker bead of sealant.
Pre-installation frame checklist
- Opening is plumb, level, and square within the tolerance allowed by the door manufacturer.
- Timber studs, masonry, or subframe are sound, dry, and firmly fixed.
- Old sealant, foam, and loose mortar are removed from the frame line.
- Threshold or sill is clean, stable, and positioned at the correct height.
- Door, frame, hinges, lock, and seals are all present and undamaged before starting.
- Manufacturer’s instructions for clearances, fixing points, and sealing are to hand.
Dry-Fit the Frame and Door Before You Seal Anything
Set the frame into the opening, shim it lightly, and check the door in place before you commit to foam or sealant. This dry-fit is where you discover whether the frame is bowed, whether the door catches at the top, or whether the lock side needs a little more packing. Keep shims behind fixing points, not just in the middle of a length. A frame fixed only at its centre can rock at the corners.
Check the reveal between door and frame. It should be even on both sides and across the top, following the manufacturer’s specified clearance. Open and close the door through its full swing. It should not rub the frame, catch on the floor, or fight the hinges. For exterior doors, confirm the weatherbar or drip detail sits correctly and that the door closes against its seals without needing a slam.
If the frame is twisted, correct it now. Loosen the fixings, adjust the shims, and recheck. Once sealant and trim are in place, a small twist becomes a much bigger job.
Seal in Layers, Not in a Rush
Drafts rarely come from one dramatic hole. They come from the frame-to-wall joint, the threshold, the lock side, and the gaps around hinges and hardware. Seal the frame in the right order: fill the cavity behind the frame with a suitable backing material or low-expansion foam, fit the internal air barrier or vapour control layer where required, then close the external joint with a weather-resistant sealant. Follow the door system’s instructions; some frames need drainage paths or ventilation gaps left open.
Do not overfill cavities with expanding foam. Excess foam can bow a frame inward and make the door bind. Trim away surplus foam only after it has cured, and never use it as a substitute for proper packing. Around the door itself, check that compression seals are continuous and sit in their grooves. A seal that is pinched at a corner or flattened at the lock side will leak air even when the door feels tight.
At the threshold, look for a continuous seal and a clean contact line. An exterior door needs a threshold that sheds water away from the house as well as blocks air. If the door has a draught excluder, set it so it touches the floor evenly without lifting the door as it closes.
Align the Door, Hinges, and Lock
Alignment is not just about a door that closes. It is about a door that closes in the same place every time, with even gaps and a latch that engages without force. Check all hinge points; a top hinge carrying too much load will eventually pull, while a bottom hinge packed too tightly can lift the door. Adjust one hinge at a time and recheck the reveal before moving on.
Look at the lock side. The latch should enter the strike plate cleanly, and the deadbolt should line up without lifting or pushing the door. If the door needs a nudge to lock, the strike plate or frame may need a small adjustment. Do not enlarge the strike opening as a first fix; find out whether the frame is out of line or the door has dropped.
Open the door to roughly 90 degrees and let it rest. If it swings open or closed on its own, the frame or hinges may be out of plumb. Check the gap at the top and bottom of the lock side. A consistent gap suggests a good fit; a wedge-shaped gap points to a twist.
Test for Drafts After Installation
Test before the trim is painted and before furniture is moved back. A calm day will hide small leaks, so repeat the check on a windy day if you can. Use the back of your hand around the perimeter, a strip of tissue, or a smoke pencil. Avoid open flames near seals, finishes, and draughts. Feel along the hinge side, lock side, top, threshold, and any letterbox or hardware opening.
Post-installation draft test
- Close the door as you would normally, then latch it fully.
- Run your hand slowly around the frame, starting at the bottom corner and working clockwise.
- Hold a tissue or smoke pencil at the same points and watch for movement.
- Check the threshold and the bottom corners, where air often slips past a seal.
- Mark any leak with painter’s tape, then adjust the seal, hinge, or strike plate.
- Repeat the test after each adjustment; small changes can affect the whole door.
If air passes through the frame-to-wall joint rather than the door seal, the problem is behind the frame. That may mean removing trim and adding sealant or backing material. If the leak is at the door edge, check the gasket compression and the alignment before adding more seal.
A Practical Final Walk-Through
Before you call the job finished, close the door ten times in a row. Listen for a change in sound: a soft, even compression is what you want, not a rattle or a hard slam. Check that handles, locks, and any door closer work smoothly. Look at the seal from both sides; it should be continuous, not pinched or stretched. Sweep up swarf and dust, and make sure no packaging or offcuts are left in the threshold.
Leave the homeowner with a simple note: how to adjust the hinges, which sealant was used, and when to recheck the seals. A door that is fitted with care and tested properly will stay quiet in the wind and comfortable in winter. The checklist is short, but each step saves a return visit.
Photo: Sid74 / Pixabay